
Fill in the form below with your contact details and a short note, and we will prepare a quote for Wood Stove Repair Burnaby
Buying a house with a fireplace or wood stove, or finally deciding to use one that has sat cold for years, raises a lot of questions at once. Homeowners in Burnaby who type “wood stove repair” are often in exactly that spot. The answers that follow walk through wood-burning stove repair step by step, so you know what to ask, what to expect from a visit and when it is safe to enjoy a fire again.
Creosote is the dark residue that forms when wood smoke cools and condenses inside a chimney or stovepipe, and it matters because it burns. It starts as dry, flaky soot, can thicken into a crunchy or sticky tar and at its worst becomes a hard, shiny glaze. A thick layer can ignite and cause a chimney fire. Creosote builds faster when wood is damp, when fires smolder with too little air and when the flue stays cold, as it often does in a chimney on an outside wall. Burning dry wood with a lively flame and having the flue swept when buildup appears keeps it under control.
Repairing is usually worth it, because the costly parts of a wood-burning setup, such as the chimney and the masonry around a fireplace, are built to last a very long time. Worn mortar, a rusted damper, cracked firebrick and tired door gaskets are all fixable. Replacement starts to make sense when the main body is failing: a stove with a cracked or badly warped body, a factory-built fireplace whose metal box has rusted through, or masonry so damaged that rebuilding approaches the cost of starting over. A technician can lay out both paths with their pros and cons so you can compare them calmly.
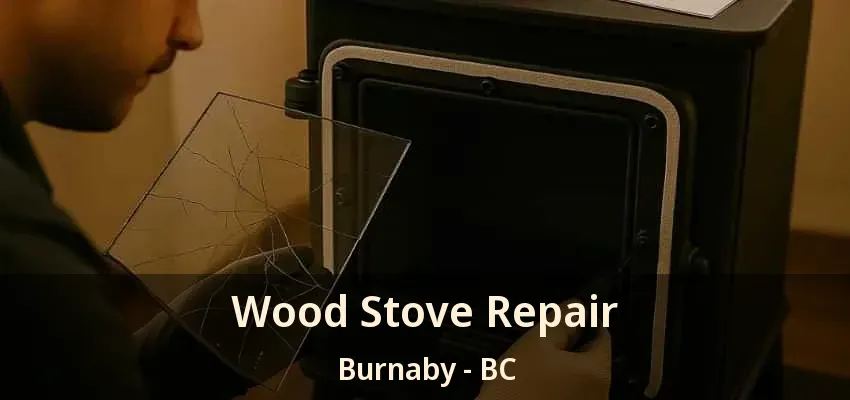
That depends on where the crack is and what the stove is made of. Cracked firebricks, glass and baffles are routine replacements. A crack in a replaceable cast iron panel may be fixable by swapping the panel, if parts are still available. A crack through the main body of a steel or cast iron stove is more serious, since it can leak smoke and air, and repair is often not practical. A technician can assess the crack and tell you honestly whether repair or replacement makes more sense. If you searched for “wood stove repair” after spotting a crack, stop using the stove until it is checked.
Most warning signs trace back to air leaks or heat damage, and those are what we look for first. A stove controls its fire by controlling air. When the door gasket flattens, the glass rope loosens or a seam opens up, extra air sneaks in, the fire runs hotter than intended and parts start to warp. A smoke smell, sooty streaks around the door and a stovepipe that glows or discolors are other clues. We also look for gaps between firebricks, which let heat reach the metal shell behind them. Caught early, these are routine fixes; left alone, they turn into bigger jobs.
The most common wood stove repairs involve parts designed to wear: door and glass gaskets, firebricks, baffles, glass and stovepipe. Gaskets are fiberglass rope seals that flatten over time and let air leak in, so they are replaced in the correct size with a high-heat cement. Cracked firebricks are swapped out, warped baffles or burn tubes are replaced, and broken glass is replaced with heat-rated ceramic glass, never ordinary window glass. Rusted or loose stovepipe is renewed and secured. Some stoves also have a catalytic combustor that wears out with use and needs replacing to keep burning cleanly.

The old rope gasket is pulled out of its channel, and the channel is scraped clean of old cement. A new fiberglass rope of the correct diameter and density is set into a bead of high-temperature gasket cement, pressed into place and trimmed so the ends meet without overlapping. The door is then closed to seat the rope, and the stove is run with small fires at first while the cement cures. A simple test afterward is closing the door on a strip of paper: it should be hard to pull out at several points around the door.
Cleaning a wood stove covers the stove itself, the stovepipe that connects it to the chimney and the chimney flue. The technician typically removes the ash, lifts or takes out the baffle near the top of the firebox so the deposits behind it can be cleared, and brushes or removes the stovepipe sections, where creosote often collects at elbows. The chimney is then brushed from the top or bottom while a vacuum contains the dust. Door and glass gaskets get a quick check, and the glass is cleaned. Everything is reassembled with the joints snug before the next fire.
Leave it largely as it is, apart from unburned logs and decorative pieces. We actually prefer to see the firebox before anyone tidies it, because what lies on the floor tells a story: black flakes suggest creosote breaking loose above, mortar crumbs point to joint wear and gritty debris can mean a crown or cap problem. Shoveling out warm ash is the one thing to avoid, since embers can survive in an ash bed for days. If the pile is overflowing and stone cold, removing some of it is perfectly fine.
Burning dry wood with enough air and keeping an eye on the stove’s condition keep it running well between cleanings. Give each new fire a hot start with the air control open, then turn it down gradually rather than shutting the air right down overnight, which produces more creosote. A stove thermometer on the pipe or top helps you stay out of both the smoldering range and the overfiring range. Empty the ash pan regularly, wipe the glass when it is cool and check that the door still latches firmly. If smoke escapes or the glass blackens quickly, book a check.

Tell us your address in Burnaby, what you have noticed and when you are usually home. That is all we need to plan wood-burning stove repair around your schedule. Send the details and the Chimney Sweep Burnaby team will reply with options and a price.
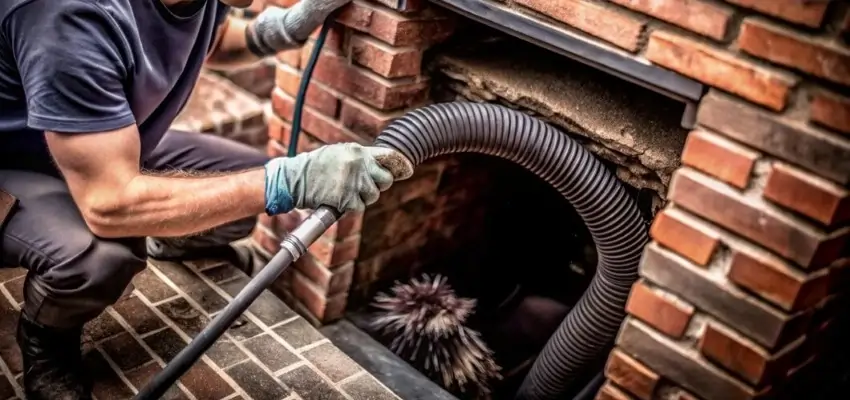
Brush, vacuum, inspect: how Chimney Cleaning works for Burnaby fireplaces
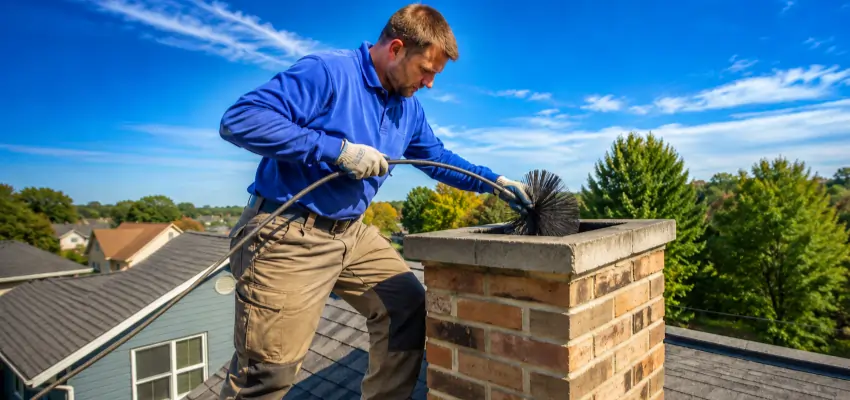
Your Burnaby fireplace, swept and checked: Chimney Sweep
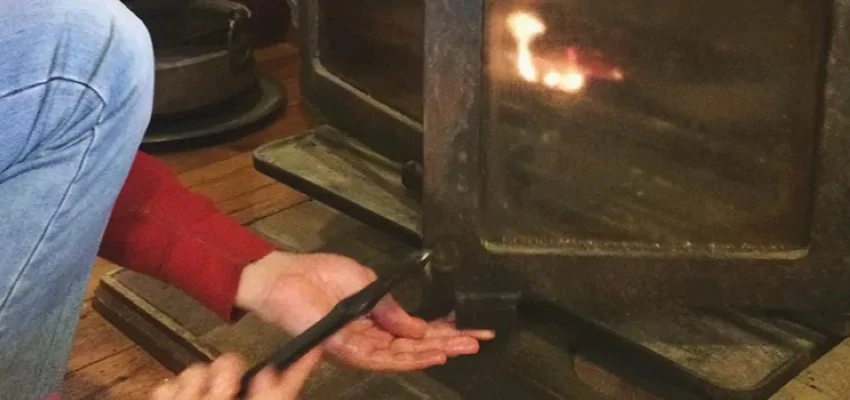
What's included in Chimney Sweep Services around Burnaby?
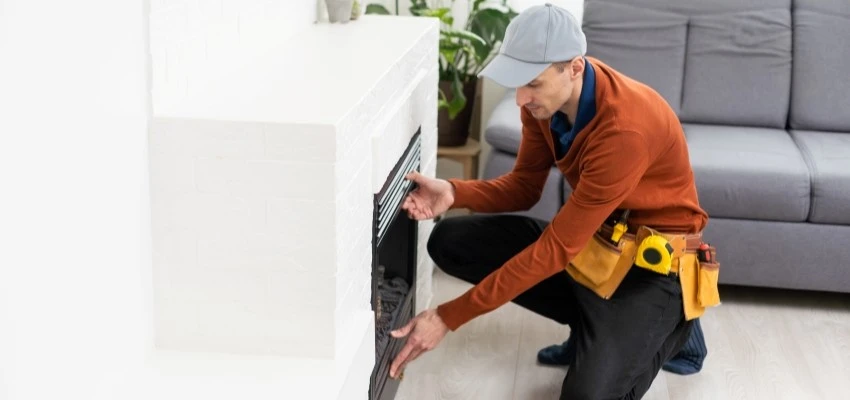
Before relighting in Burnaby, a visit from Fireplace Experts
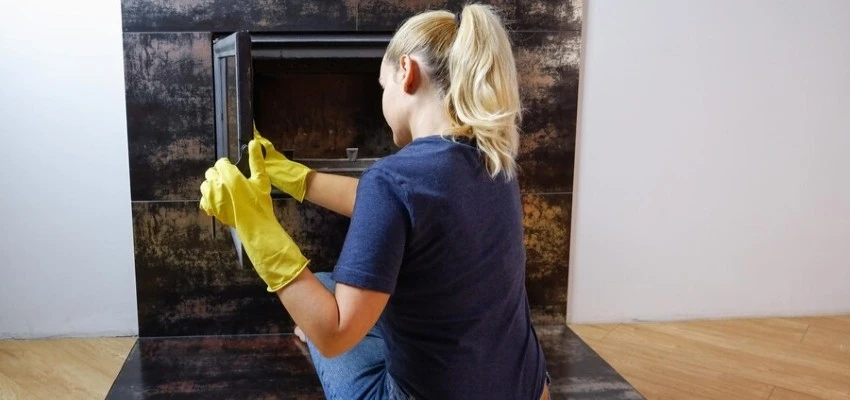
Glass cleaned without scratches: Gas Fireplace Cleaning
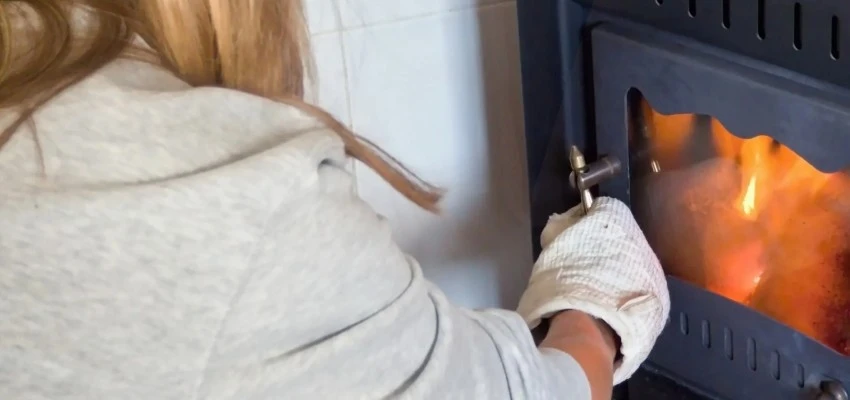
Logs, embers and vent cap included in Gas Fireplace Maintenance

